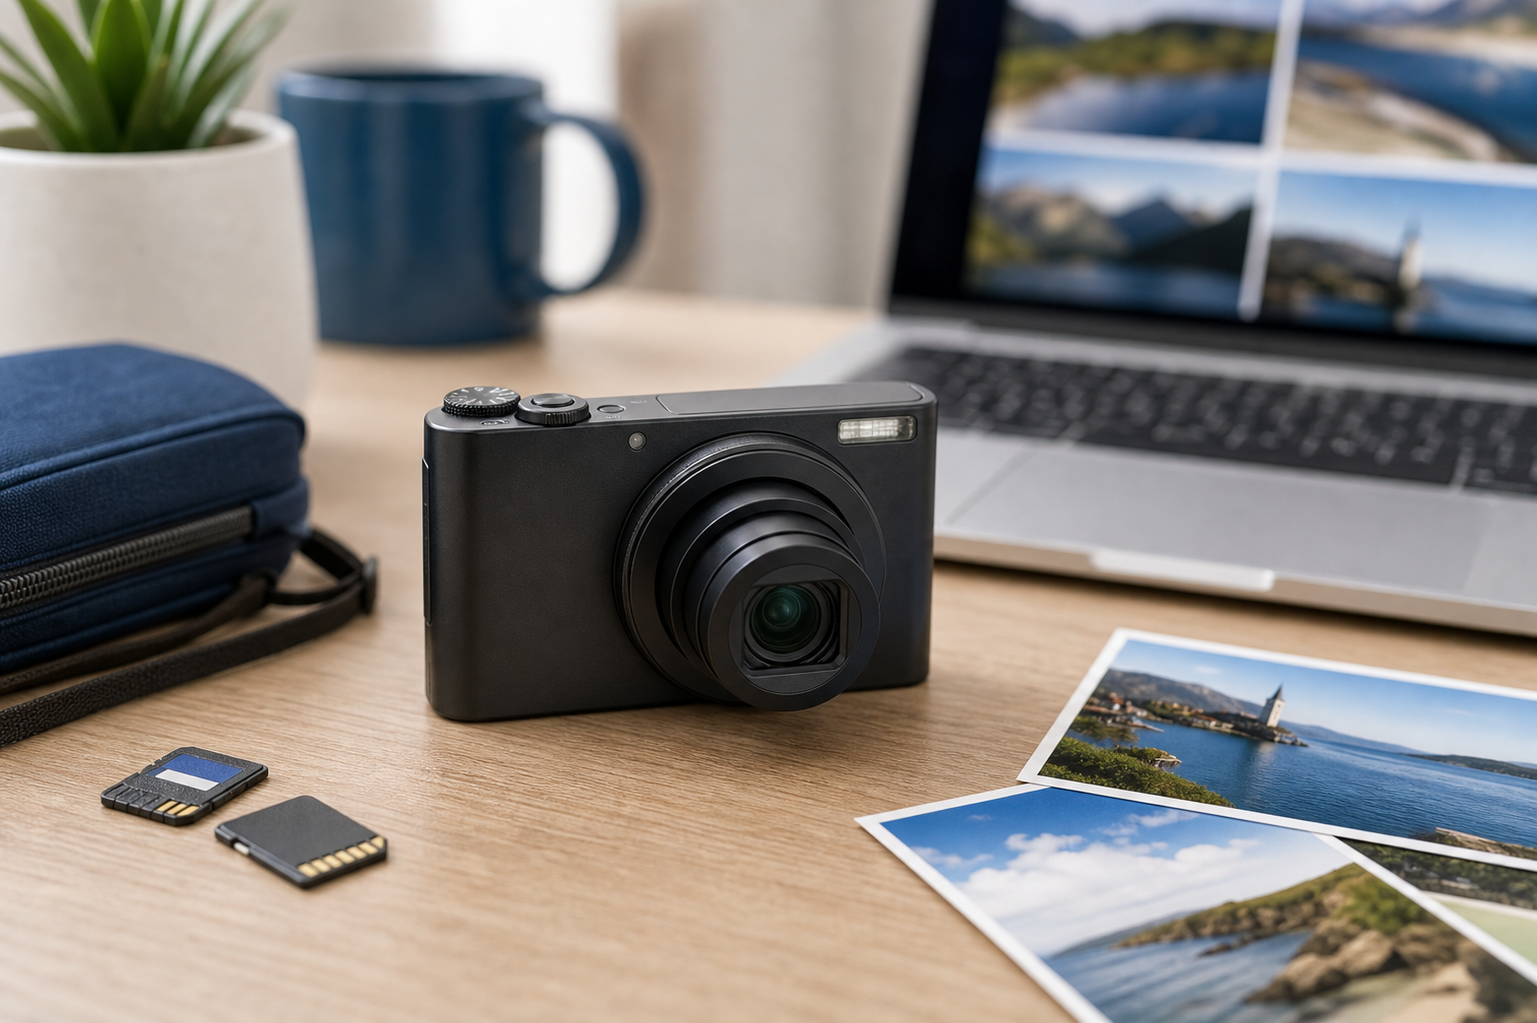
Welcome to your complete starter guide for your Cyber-shot Sony camera. If you've just unboxed your new digital camera and feel a bit overwhelmed by the buttons and menus, you're in the right place. This guide will walk you through everything from the initial setup and charging to taking your first great photos and getting them onto your computer. We'll help you understand the core features so you can move beyond the basic 'auto' setting and start taking pictures you're proud of. Think of this as the friendly manual you wish came in the box.
Fast Answer
- First Step: Fully charge the battery using the supplied charger.
- Next Step: Insert the charged battery and a compatible memory card.
- To Shoot: Set the mode dial to the green camera icon (Auto) and press the shutter button.
Before You Start
- Your Sony Cyber-shot camera.
- The rechargeable battery and charger that were included in the box.
- A compatible memory card. Most modern Cyber-shot models use SD, SDHC, or SDXC cards. Check your camera's manual to be certain.
- The USB cable (if you plan to transfer photos directly to a computer).
- A computer or smartphone for viewing and storing your pictures.
Step-by-Step Instructions
Charge and Insert the Battery and Memory Card
Your camera's battery will likely have very little power out of the box. The first and most important step is to give it a full charge. Plug the supplied charger into a wall socket and place the battery inside. A light on the charger will indicate when it's charging and when it's complete (it usually turns off or changes colour).
Once charged, locate the battery and memory card door, usually on the bottom of the camera. Slide the latch to open it. Pay attention to the diagrams inside the compartment; they show the correct orientation for the battery and memory card. The battery will only fit one way and should click into place, held by a small lock. The memory card also has a specific orientation-with the label facing the back of the camera-and will gently click in when fully inserted. Close the compartment door securely.
Power On and Complete the Initial Setup
Find the POWER button, typically located on the top of the camera. Press it once. The lens will extend, and the rear LCD screen will light up. The very first time you turn on your Cyber-shot, it will prompt you to complete an initial setup process.
This usually involves selecting your preferred language, setting the current date and time, and choosing your region. Use the control buttons on the back of the camera (often a circular pad or wheel) to navigate the menus and the centre button to confirm your selections. Getting the date and time right is more important than you might think, as this information is saved with every photo you take, making it easy to organise your pictures later.
Understand the Main Controls and Buttons
Take a moment to familiarise yourself with the key controls. While the exact layout varies between models, most Sony Cyber-shot cameras share a similar design.
- Shutter Button: The large button on top, used to take pictures. Pressing it halfway down activates the autofocus.
- Zoom Lever/Rocker: Usually a ring around the shutter button or a toggle on the back. Push it towards 'W' for Wide-angle (zoom out) and 'T' for Telephoto (zoom in).
- Mode Dial: A physical dial on top that lets you choose shooting modes like Auto, Program, Scene, and Movie. We'll cover this next.
- Playback Button: Marked with a 'play' symbol (a triangle). Press this to review the photos and videos you've taken.
- Control Wheel/Multi-Selector: A circular pad on the back used to navigate menus and change settings like flash, timer, and display information.
- Menu Button: Gives you access to all the camera's detailed settings.
Select a Shooting Mode with the Mode Dial
The mode dial is your creative command centre. For starting out, the automatic modes are fantastic. They let the camera handle all the complicated settings, so you can focus on composing a good shot.
- Intelligent Auto (iA or a green camera icon): This is the simplest point-and-shoot mode. The camera analyses the scene and automatically chooses the best settings for you. It's perfect for everyday snaps.
- Superior Auto (iA+): Similar to Intelligent Auto, but it may take multiple shots and combine them to create a single, higher-quality image, especially in tricky lighting conditions like twilight or backlit scenes.
- Program Auto (P): The camera still sets the main exposure settings (shutter speed and aperture), but it gives you control over other functions like ISO, white balance, and exposure compensation. It's a great next step after you're comfortable with full auto.
- Scene Selection (SCN): Here, you tell the camera what kind of picture you're taking. You can choose from presets like Portrait, Landscape, Night Scene, or Sports. The camera then uses optimised settings for that specific situation.
Frame Your Shot and Focus
Look at the rear LCD screen to compose your picture. Think about what you want the main subject to be. A common photography tip is the "rule of thirds"-imagine a tic-tac-toe grid over your screen and place your subject at one of the points where the lines intersect, rather than dead centre. This often creates a more balanced and interesting photo.
Once you've framed your shot, gently press the shutter button halfway down. You'll feel a slight click. The camera will now focus on the subject. A green box will typically appear on the screen to confirm that focus is locked. If the box is yellow or red, or if the camera beeps, it may be struggling to focus. Try pointing it at something with more contrast or texture. Hold the shutter button at the halfway point to keep the focus locked while you make small adjustments to your framing.
Take Your First Picture
With the focus locked from the half-press, you're ready to take the picture. Smoothly press the shutter button the rest of the way down. Avoid jabbing at the button, as this can shake the camera and cause a blurry photo. Hold the camera still for a moment after you hear the shutter sound.
The screen might briefly go black, and then the photo you just took will appear for a few seconds. This is called the image review. It's a quick chance to see if you got the shot you wanted. You can usually change the duration of this review or turn it off in the camera's menu settings.
Review Your Photos in Playback Mode
To see all the photos on your memory card, press the Playback button (the one with the triangle icon). The last photo you took will appear on the screen. You can use the left and right directions on the control wheel to scroll through your images.
This is also your chance to check for quality. Use the zoom lever to magnify the image. Zooming in lets you check if your subject is in sharp focus. If an image is blurry or you don't like it, you can delete it by pressing the delete button (often marked with a rubbish bin icon). The camera will ask you to confirm before deleting, just in case you press it by accident.
Adjust Basic Settings in the Menu
While auto modes are great, you might want to adjust a few key settings. Press the MENU button to access the camera's full settings. The most common ones to change are:
- Image Size/Quality: This determines the resolution (megapixels) of your photos. A higher number means a larger file size and more detail, which is better for printing. For sharing online or on social media, a smaller size is often fine and saves space on your memory card. It's usually best to leave this at the highest setting to capture the most detail.
- Self-Timer: This setting allows you to set a delay (usually 2 or 10 seconds) between pressing the shutter button and the photo being taken. It's perfect for group shots where you want to be in the picture, or for placing the camera on a steady surface to avoid any camera shake.
- Flash Mode: Use the flash button (lightning bolt symbol) to cycle through options like Auto Flash (camera decides), Forced On (flash always fires), and Forced Off (flash never fires). Turning the flash off is useful in museums or for capturing natural light.
Transfer Photos to a Computer or Smartphone
Getting your photos off the camera is the final step. You have two main options:
1. Using a USB Cable: Turn the camera off. Connect the small end of the USB cable to the port on your camera (it might be under a small rubber flap) and the other end to a USB port on your computer. Turn the camera on. Your computer should recognise it as a new drive, just like a USB stick. You can then open the folders (usually named DCIM) and copy the image files to your computer's hard drive.
2. Using a Memory Card Reader: This is often faster and more convenient. Turn the camera off, remove the memory card, and insert it into a card reader connected to your computer. The card will appear as a drive, and you can drag and drop your photo files.
If your Cyber-shot camera has Wi-Fi, you can also transfer photos wirelessly to your smartphone using the Sony Imaging Edge Mobile app. You'll need to follow the on-screen instructions on both the camera and your phone to establish the connection.
Quick Reference
| Situation | Use this | Why |
|---|---|---|
| Taking a photo of a person | Portrait Mode (SCN) | It softens the background to make the person stand out. |
| Shooting a wide mountain view | Landscape Mode (SCN) | It enhances greens and blues and keeps everything in sharp focus. |
| Capturing a fast-moving pet or child | Sports Mode (SCN) or Burst Mode | It uses a fast shutter speed to freeze motion and prevent blur. |
| Low light, but can't use flash | Night Scene or Hand-held Twilight Mode | The camera adjusts settings to capture as much light as possible without a flash. |
| Want more control than Auto | Program Auto (P) | You can adjust settings like ISO and Exposure Compensation while the camera handles the rest. |
Common Problems When You Use a Cyber Shot Sony Camera
| My photos are blurry. | This is the most common issue for new photographers. The main cause is camera shake. Make sure you are holding the camera steady with both hands and squeezing the shutter button gently. If the light is low, the camera uses a slower shutter speed, making shake more likely. Try turning on the flash or placing the camera on a solid surface like a table or wall. |
|---|---|
| The battery seems to run out very quickly. | The large LCD screen is the biggest drain on power. In the camera's menu, look for a power save or "auto power off" setting, which will turn the screen off after a period of inactivity. Also, using the flash frequently and reviewing photos for long periods will drain the battery faster. Carrying a charged spare is the best solution. |
| My photos are too dark or too bright. | This is an exposure issue. Your camera has a feature called Exposure Compensation, often marked with a "+/-" symbol. If your photo is too dark, adjust this setting to a positive value (like +0.7 or +1.0) to make the next shot brighter. If the photo is too bright, adjust it to a negative value (like -1.0) to make it darker. |
| I see a "Memory Card Error" message. | First, turn the camera off and carefully re-insert the memory card to ensure it's seated correctly. If the error persists, the card may be full, corrupted, or incompatible. Connect the card to a computer to back up any photos you can access. Then, use the Format function within the camera's menu to reformat the card. This often fixes corruption issues but remember, it will erase everything on the card. |
Advanced Tips for Your Cyber Shot Sony Camera
| Master White Balance (WB) | Have you ever taken a photo indoors that looked too yellow or orange? That's a white balance issue. While Auto White Balance (AWB) works well most of the time, you can set it manually for better results. In the menu, look for WB settings like Daylight, Cloudy, Tungsten (for old indoor lightbulbs), and Fluorescent. Setting this to match your lighting conditions will give you much more accurate and natural colours. |
|---|---|
| Control Your ISO | ISO controls the camera's sensitivity to light. In Program (P) mode, you can set this manually. A low ISO (like 100 or 200) is best for bright, sunny days and gives you clean, sharp images. A high ISO (like 1600 or 3200) is for low-light situations, but it can make your photos look grainy or "noisy." Use the lowest ISO you can for the available light. |
| Use Focus Lock Creatively | Remember the half-press shutter technique to lock focus? You can use this for better compositions. Instead of always having your subject in the centre, point the centre focus box at your subject, press the shutter halfway to lock focus, and then-while still holding the button halfway-move the camera to reframe the shot before pressing the button all the way. This lets you place your sharp subject anywhere in the frame. |
| Explore Macro Mode | Most Cyber-shot cameras have a Macro mode, often indicated by a flower symbol. This mode allows you to get extremely close to small subjects, like flowers or insects, and capture incredible detail. When in Macro mode, you can physically move the camera much closer to your subject than in normal modes before it goes out of focus. |
Cyber Shot Sony Camera Digital FAQ
How do I clean the lens on my camera?
Can I record video with my Cyber-shot?
What is the difference between optical zoom and digital zoom?
Why won't the flash pop up?
Final Checklist for Using Your Camera
- Battery is Charged: Always start your day with a fully charged battery (and a spare if you have one).
- Memory Card Ready: Ensure your memory card is in the camera and has enough free space.
- Lens is Clean: Give the lens a quick wipe with a microfibre cloth to remove any fingerprints or dust.
- Correct Mode Selected: Choose a shooting mode that fits your situation. When in doubt, Intelligent Auto is a great starting point.
- Review and Back Up: At the end of the day, transfer your new photos to a computer or cloud storage for safekeeping.
- Experiment: Don't be afraid to try different settings and modes. The more you practice, the more comfortable you'll become with your camera.